
No licence or personal drive needed. Use the free reader to explore a small archive before creating one of your own.
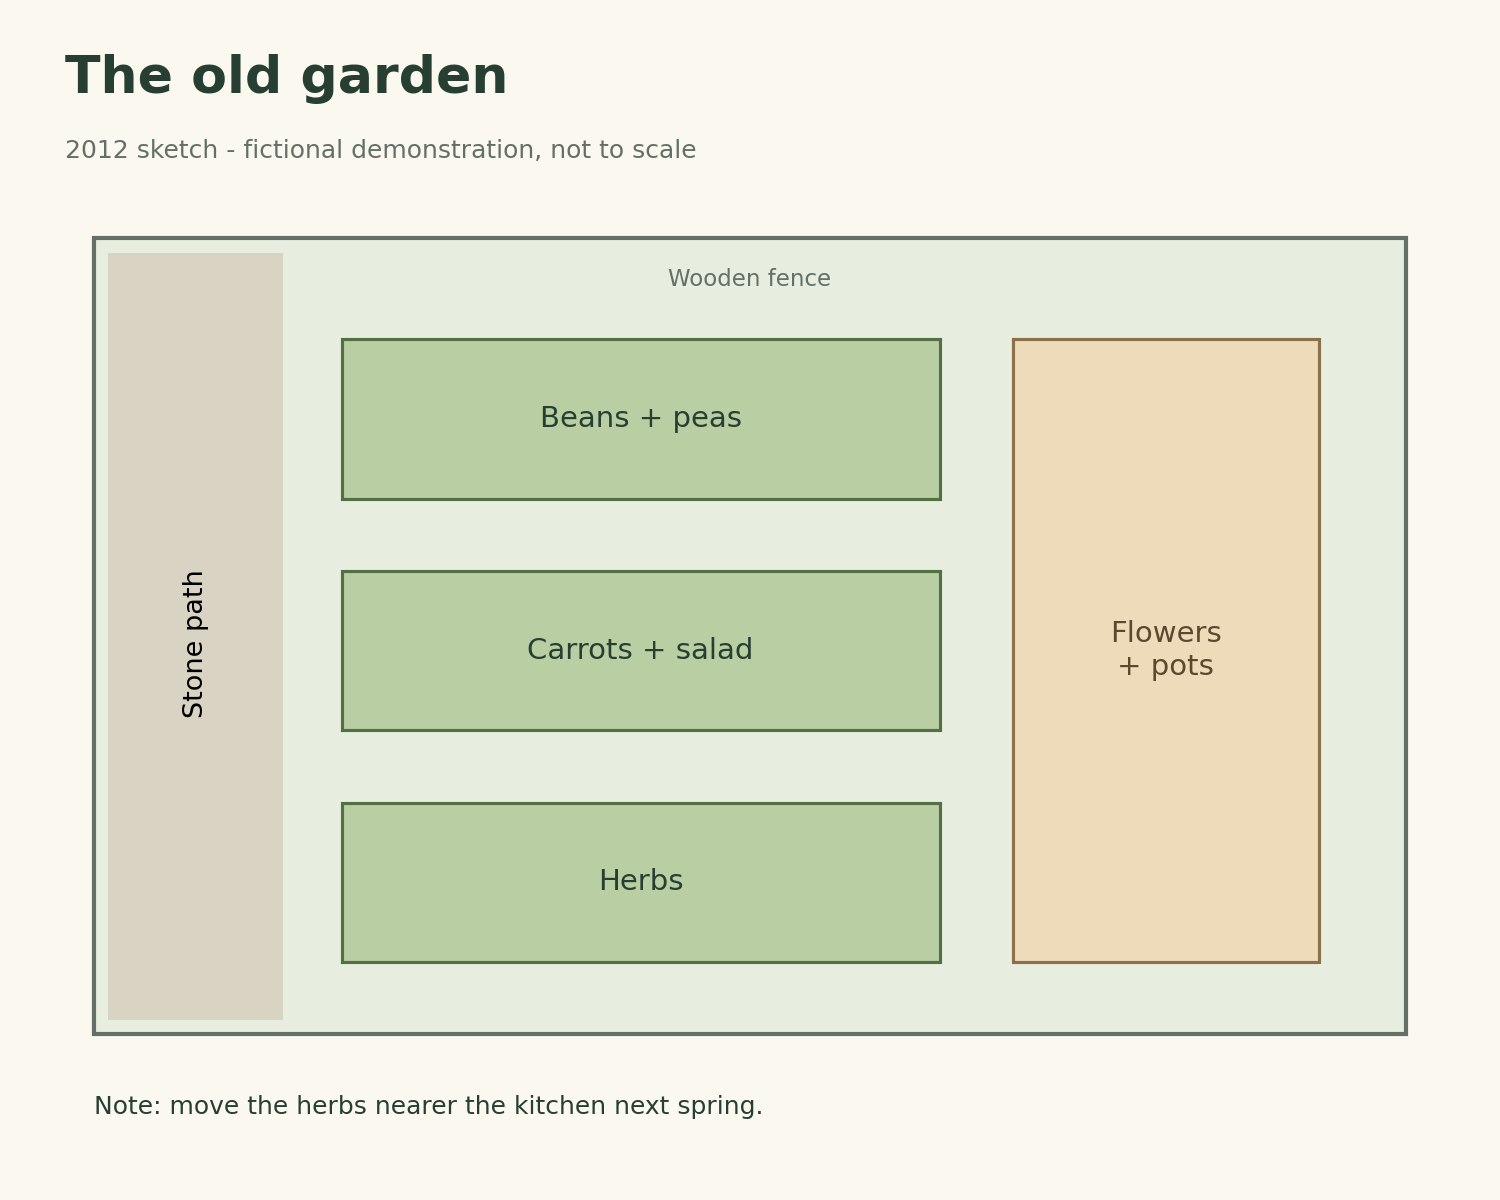
Our fictional “Family PC 2012” contains two labelled AI-generated photos, an apple-cake recipe, family-history notes, and a garden sketch. The people, contents, and 2012 setting are invented.
Download ArchiveHive first. Use version 1.1.0 or later on Windows 10+ (64-bit) or macOS 13+ on Apple silicon. Allow 250 MB of working space.
Two downloads. One small practice run.
Healthy reference
Check the archive and browse its files.
Download healthy reference ZIP · 12.5 MBDownload SHA-256
be49dc7d384e21baf62dfea5f243f020f5737e603773b8377f2160df89660f6eRepair practice
Find the deliberate damage, then repair it.
Download repair practice ZIP · 12.5 MBDownload SHA-256
c2eec36fecc89f3197e5e848506f395b22c93e761cbf2d007eeede1144815f8bExtract each ZIP completely into a separate folder. Each contains a Family-PC-2012 archive folder and a START-HERE.txt walkthrough. Both ZIPs are intact; the practice archive inside has one deliberately changed image-chunk byte.
1. Check the healthy archive and find the recipe
Open Archives. Choose Add archive folder… on Windows or Add folder… on macOS. Select the extracted healthy ZIP’s folder that contains Family-PC-2012.
- Windows
- Choose Standard integrity check. For the deeper check, expand More actions and what they do and choose Full image verification.
- macOS
- Choose Verify, then Full verify for the deeper check.
Expected result: both checks pass.
Search for apple-cake. The included index should find Documents/Grandmas-apple-cake.pdf. To open it, use Browse files read-only under the Windows actions menu, or Mount on macOS. Mounting may ask for system permission. Close the temporary mount in the app when you finish browsing.
2. Find the deliberate damage
Remove the healthy folder from the library’s registered folders, then add the extracted repair-practice folder instead. Removing a library folder does not delete its files. This lets the practice repair use its own recovery data without taking a good chunk from the healthy reference.
Run the individual Standard integrity check / Verify action again.
Expected result: the check reports damage to image.img.zst.part0001. That failure is the point of this step.
Use the individual check here. Check all copies can repair as well as check, which would skip the chance to see the damage first.
3. Repair it, check again, and open the file
Choose Repair damaged archive… under the Windows actions menu, or Repair on macOS. Confirm you are working on the extracted practice archive: repair changes files in that folder.
When repair finishes, run Full image verification / Full verify. Then mount the repaired archive and open the recipe or either photo.
Expected result: the full check passes, and the restored image and content files match the healthy reference.
This sample was tested with the published 1.1.0 reader on Windows and macOS: damage detection, repair using PAR2 without another copy, full verification, extraction, indexed search, and matching file hashes. The repaired image was also mounted read-only on macOS to check every content file.
See the exact checks, or repeat the exercise
The sample manifest records the expected download, image, chunk, and content-file hashes, plus the single-byte change. Download checksums and the plain-text walkthrough are also available.
To repeat it, close any temporary mount, remove the practice folder from the library, and extract the original practice ZIP into a new folder. Operational logs, status records, and indexes can change during checks or repair; compare the image and content-file hashes to prove restoration.
Independent reconstruction check
Can you rebuild the image without ArchiveHive?
Yes for this healthy sample. On 26 September 2026, we extracted the published ZIP and used PowerShell’s SHA-256 checker and the separate Zstandard CLI (version 1.4.9) on Windows. ArchiveHive was not used to reconstruct the raw image.
- Download and verifyThe healthy ZIP matched its published SHA-256.
- Check the stored chunkThe compressed chunk matched its hash in
manifest.toml. - Decompress and verifyThe reconstructed image measured 67,108,864 bytes (64 MiB) and matched the manifest’s raw-image SHA-256.
Repeat the independent check on Windows
Download the healthy ZIP above, check it before extraction, then extract it. Run these commands from the folder containing Family-PC-2012. Install a trusted zstd CLI first. The archive’s own RECOVERY.md explains multi-chunk reconstruction in manifest order.
Get-FileHash .\family-pc-2012-healthy.zip -Algorithm SHA256
Get-FileHash .\Family-PC-2012\image.img.zst.part0001 -Algorithm SHA256
zstd -d --force .\Family-PC-2012\image.img.zst.part0001 -o .\recovered.img
(Get-Item .\recovered.img).Length
Get-FileHash .\recovered.img -Algorithm SHA256- Healthy ZIP
be49dc7d384e21baf62dfea5f243f020f5737e603773b8377f2160df89660f6e- Compressed chunk
dec40c60ac516c89bc4bb6a875a5161ea83bd383c01de53a2ae1f50b9ff2f40f- Raw image
d7c991ad049cfc2493399ecad5b65617117a7c1e158d13017a71b047a75fb576
This proves independent reconstruction of this single-chunk synthetic example. The repair-practice walkthrough above checks PAR2 repair in the app; this independent check did not test PAR2 repair or recovery from a failing physical drive.
This is a small, controlled example with enough recovery data for its deliberate damage. It does not predict speed on a real drive or guarantee repair after arbitrary loss. Archive repair cannot restore bytes a source drive never returned.
Ready to preserve a drive of your own? Follow Your first archive for storage planning, capture, verification, and a second copy. A licence starts new archives; the reader stays free.